There are several ways to set the Scale of a Page.
Setting Scale on the Cover Sheet
When you add a new, blank page to a project, Page Size and Scale are automatically set based on the "New Bids" settings under Tools > Options.
When adding a page linked to an image file (see Related Articles), On-Screen Takeoff attempts to extract the page size/scale from the properties of the image file.
We do not recommend changing the scale of a page after you have drawn takeoff because On-Screen Takeoff may not be able to resize all takeoff correctly. The new scale may cause some takeoff to extend outside the page or it may objects may not be able to resize because of related or connected objects. It is vital that you set/calculate and verify scale before drawing takeoff.
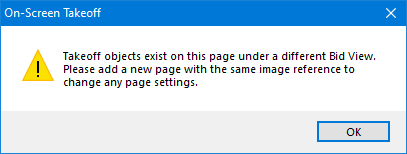
When working on a bid that includes Alternates or Change Orders, you are prevented from changing the scale if the program identifies that there is takeoff on this Page in a child bid (or the base bid if you are in a child bid).
To change the scale of a page:
Open the Cover Sheet, the Pages tab is displayed
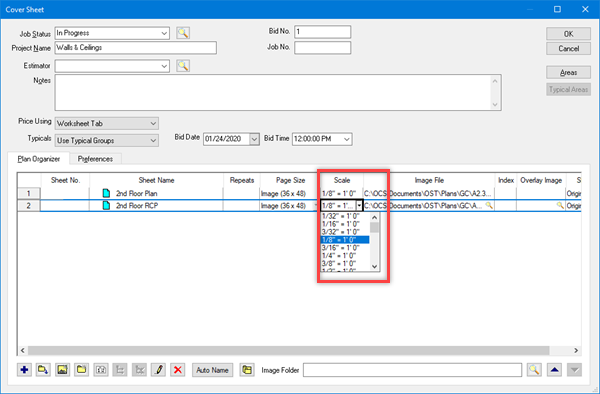
Select the scale from the drop down (you must still verify the scale, keep reading...)
Setting Scale on the Image Tab (or in the Annotation and View Window)
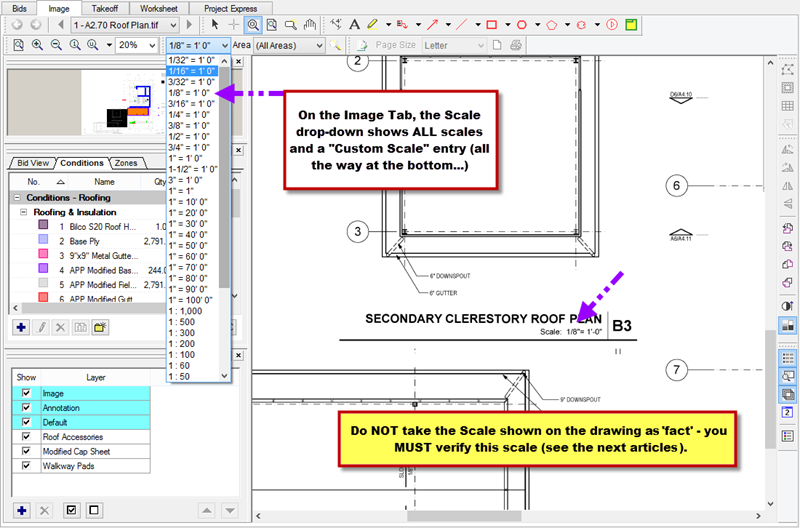
Using the Scale drop-down in the Settings toolbar
From the Image Tab, use the Scale drop down on the Settings toolbar to select the scale.
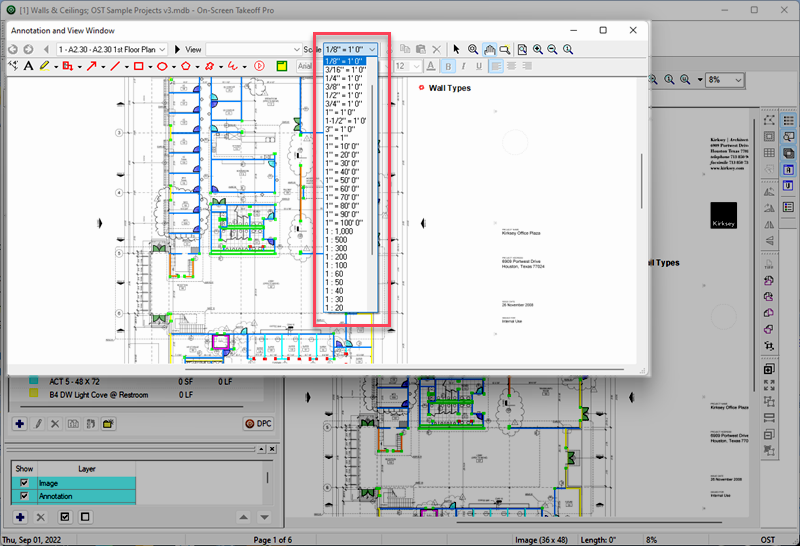
Or, from the toolbar in the Annotation and View Window, click the Scale drop-down.
Using the Edit Menu
You can use the Edit Menu to set scale,
Click Edit > Set Scale - the Set Scale dialog appears
Select the Scale Style (Architectural, Civil or Metric)
Use the drop-down list to choose a Pre-defined scale from the drop down or enter a Custom scale
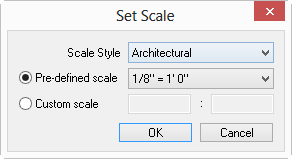
Click the "Apply to all Pages" option if you know that this is scale for all Pages in your Project (be sure to verify scale on each page, of course, before doing any takeoff).
Click OK
Setting a Custom Scale
Using one of the above methods, select "Custom Scale" and enter the dimensions.
For Imperial measurements, the quantities are entered in feet and inches
- For 25', enter "2500", which is 25 feet, 00 inches
- For 100' 6", enter "10006", which is 100 feet, 06 inches
For Metric measurements, the quantity is entered in millimeters
- For 1 meter, enter "1000"
- For 25 meters, enter "25000"
If your drawing does not show a Scale, let On-Screen Takeoff calculate Scale for you. You also need to Calculate Scale if the Scale shown on the drawing isn't accurate when you verify it.
