![]()
12.01.01 multi-condition takeoff
![]()
![]() Multi-Condition Takeoff video
Multi-Condition Takeoff video
To takeoff walls, ceilings, floors, and trim you could grab a Condition, draw the walls, pick a different Condition, draw the ceilings, grab a third Condition and draw the floors, then grab a fourth Condition to draw the perimeter (again) to account for baseboard and/or trim.
To takeoff off electrical runs where there is a junction box for every segment you could grab a Linear Condition, draw all the runs, then going back and place a Count object at the end of each segment.
You COULD do it that way however...
On-Screen Takeoff includes Multi-Condition Takeoff (patent pending). Using Multi-Condition Takeoff, an estimator can grab any number of Conditions and draw the takeoff once. On-Screen Takeoff places the appropriate takeoff objects on the plan, automatically - all at the same time!
There are, of course, a few rules:
Before drawing ANY takeoff, be sure to set and verify the SCALE on EACH page. See Verifying the Scale of an Image for instructions.
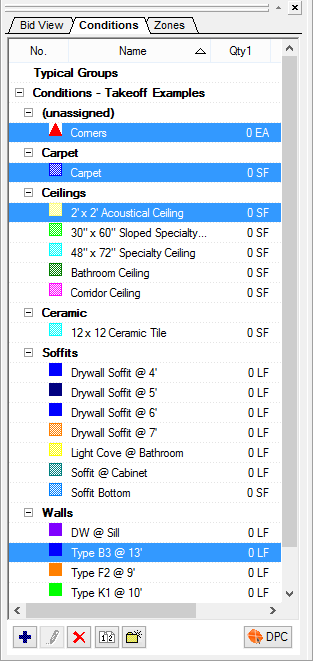
First, select the Conditions to use. In the example below, we have selected "Corners" (a Count), "Carpet" (an Area) "2'x2'
Acoustical Ceiling" (another Area) and "Type B3 @ 13'" (a Linear wall Condition). This represents a room full of takeoff that would take a minimum of 19 clicks to takeoff just a simple square.
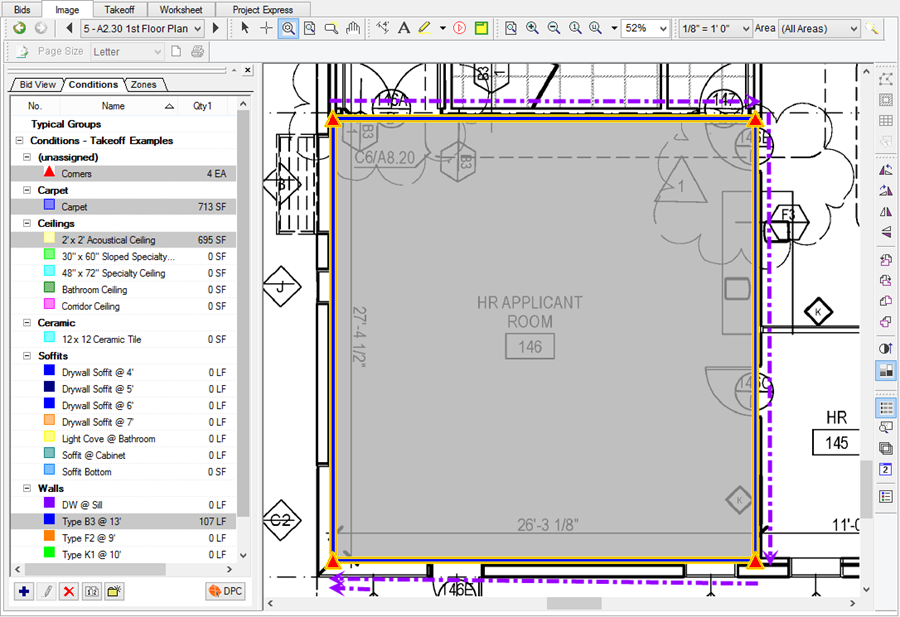
Next, draw the takeoff (notice, since the group included an Area, we takeoff the Area, everything else will automatically be filled in). The purple arrows simply indicates how we drew the takeoff. The double-arrow at the bottom left of the takeoff object denotes a double-click.
So, in four clicks (one being a double-click), we took off an entire room's worth of takeoff objects.
We could have drawn this even faster using On-Screen Takeoff's click-n-drag Area takeoff function. For a simple rectangle, just click at the anchor point (the upper left corner), hold down the left mouse button and drag to the lower right corner, release the mouse button and Voila!!! The entire room, taken off in TWO CLICKS!

Multi-Condition takeoff objects of the same Style (Linear, Area, Count) are placed on top of each other. To differentiate between the objects, Conditions can be assigned to different Layers, that way, you can toggle Layers on and off to make the display easier to read. See Chapter 14 for information on Layers.
Please see the next several articles for detailed instructions on performing Linear, Area, Count, and Attachment takeoff.