![]()
10.02.02 adding multiple overlays to a project
![]()
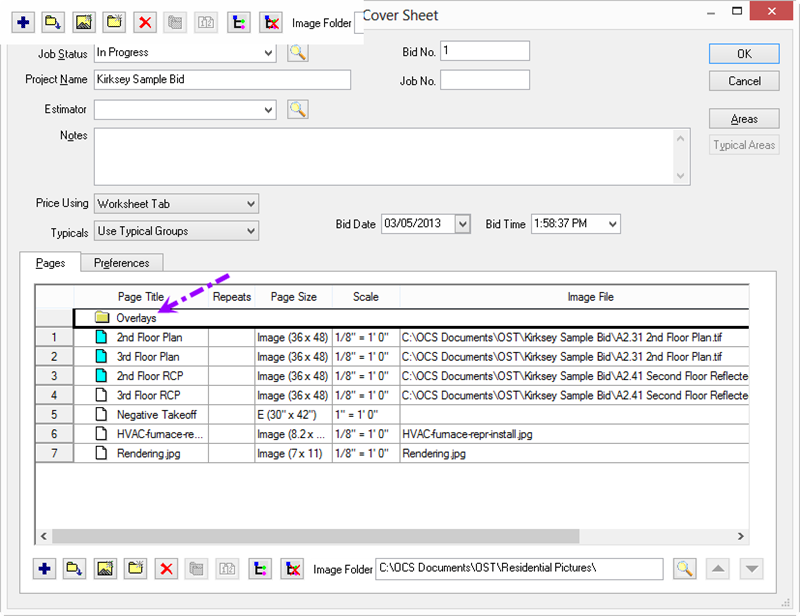
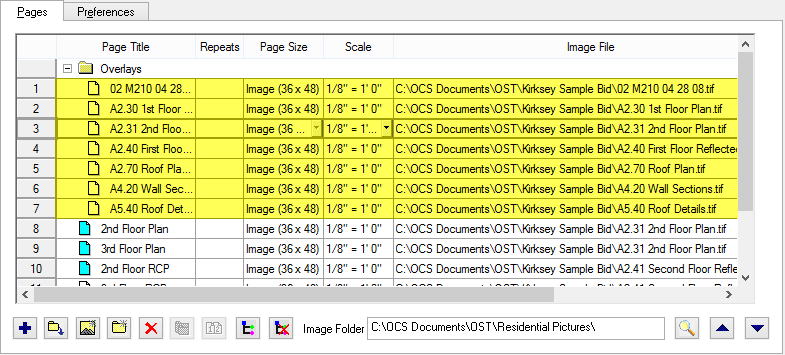
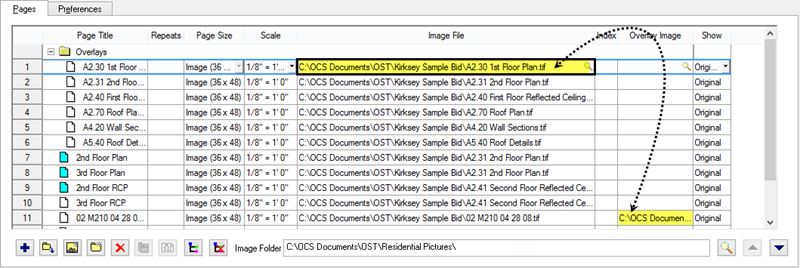
Using the Select Overlay process on the Image Tab works great if for assigning one or two overlay images. If the project includes 20 or 50 or more overlay images selecting each overlay on the Image Tab would be fairly time-consuming. It is more efficient to use the Cover Sheet to add numerous overlays to the project then copy and past the link(s) into the Overlay field.
When you add an overlay to a project using this method, you are bypassing the copy-creation process that occurs on when you add an Overlay on the Image Tab itself. Any alignment/resizing is made directly to the file you add. If you've used this file as the Base Image or Overlay on another Page, you will be resizing/aligning it anywhere it's used. It's best to add Overlays via the Image Tab, if possible, or at the very least, make sure that files you use as overlays are not also used as Base Image or Overlay on another Page.
On the Image Tab, the Overlay and base image are displayed - make adjustments to the Overlay sizing and position as (see previous article for instructions)
The automatic Overlay Orientation, Deskew, and Resize screens are not shown when adding overlay images via the Cover Sheet. If the rotation or sizing of the overlay is incorrect, manually Align and/or Resize the Overlay image once on the Image Tab, see Selecting and Resizing Overlays and Aligning Overlays for detailed instructions.