Dimension Lines are simply reference lines drawn on a page to indicate distances between objects and to verify the scale on a page.
Drawing Dimension Lines
- Click on the
 tool.
tool. - Click at the starting point for the line.
- Click on the ending point for the line.
To change the formatting of a Dimension line's text label,
- Grab the
 tool.
tool. - Click on label of the Dimension line - the Text Format toolbar opens (see Related Articles for details on the Text Format toolbar).
- Adjust the font and format as needed.
- Click away from (off of...) the Dimension line.
You cannot change the color of a Dimension Line after it's drawn, however you can adjust the default color in Tools > Options Fonts/Colors - see Related Articles for details.
My Dimension Line Keeps "Breaking Up" - Why?
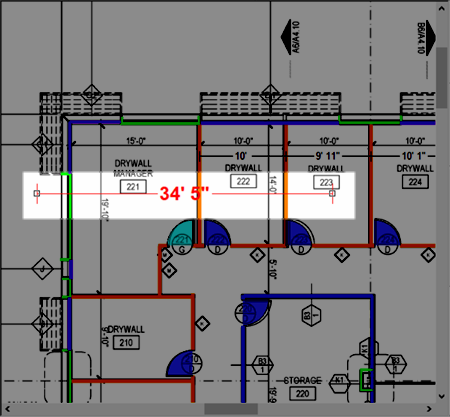
You draw a Dimension Line expecting it to look like this...

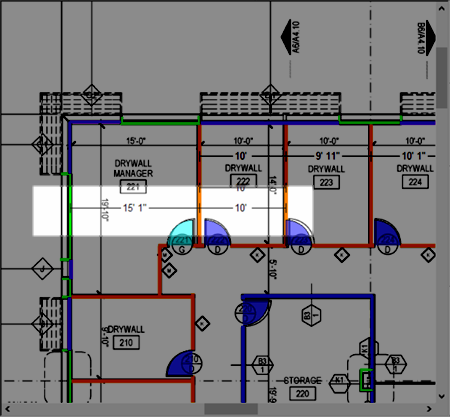
But it ends up looking like this...

The reason is that Dimensions Lines automatically "break" on existing Linear takeoff objects. This is by design so you can quickly see the distance between multiple adjacent linear objects, however, it can make drawing a Dimension Line that spans across linear objects impossible.
How to work around this
To draw a Dimension Line that extends over Linear takeoff objects (or other Dimension Lines, for that matter):
Turn off takeoff Layers
The easiest way to work around this feature is to turn off the Layer(s) on which the Linear takeoff objects reside. Then, you can draw your Dimension Line and it will not "break" on the existing linear objects. You can then turn those Layers back on.
Draw and Move Method
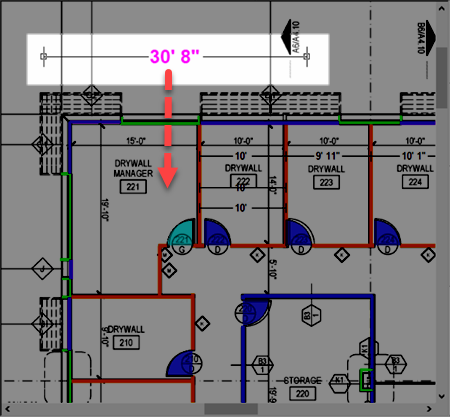
Draw the Dimension Line in a nearby region of the Plan that does not have any takeoff on it:

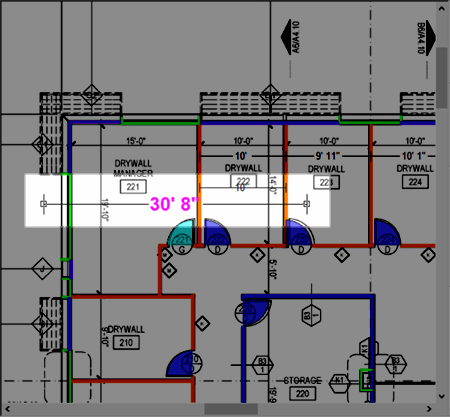
And then move it to its final location:

If you are unable to move the Dimension Line vertically, open Tools > Options and clear the checkbox that reads "Restrict Lateral Movement of linear objects" and try again.
See Related Articles for information on editing Annotation after you draw it.
