Items are the building blocks of your estimate and can represent Material Costs (lumber, drywall, carpet, concrete, etc.), Labor Costs (carpenter, supervisor, electrician, etc.), or a combination of both. Items are one of the most complex and important components of using Quick Bid. We take the entire next section of the user guide to cover creating and managing Items, see Related Articles if you want to skip to the next section.
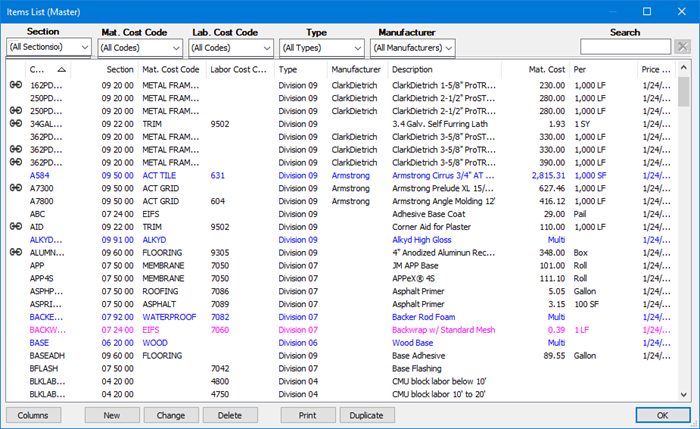
The Master Item List shows you all the Items in the current database.

Why are some Item in the list black, some blue, and other pink? What's that little icon next to some of the Items? See Related Articles for color-coding and in-use indicator.
If you know an Item's Code, the fastest way to locate it in the List, is just start typing the Item’s code. Quick Bid matches what you type as you type. This also works in the
Condition Detail's Item Grid - when you are adding Items, just type the first few letters of the Item's Code and the program inserts the first match for you.
Showing Additional Columns
You can customize the list by showing and hiding various columns.
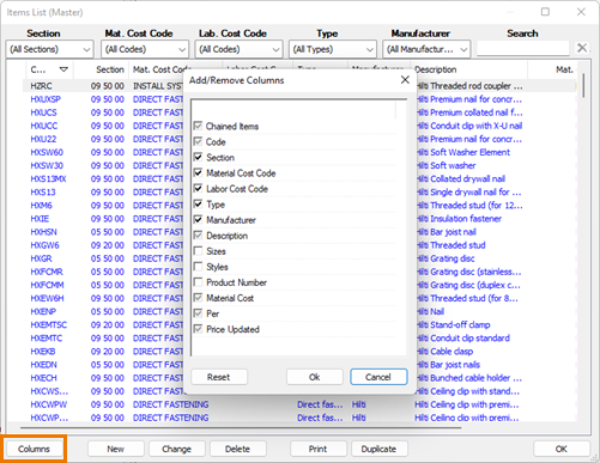
While viewing the Master Items list, click the Columns button in the bottom-left corner.

This opens the Column Picker pop-up. Some columns must be shown (such as: Code, Chained Items, Material Cost, etc.) and their checkboxes are greyed out. Others can be shown/hidden by placing or removing the checkmark in the checkbox to the left of each column name.

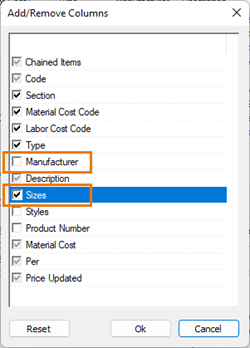
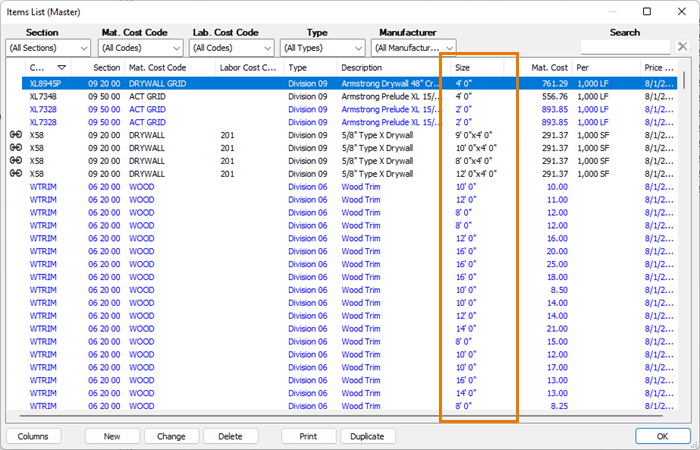
In our example, we are going to uncheck Manufacturer and check Sizes.

Notice that when you add a column such as Sizes, you see multiple rows for some Items (same goes for Styles).
