![]()
10.03.01 reassociating image files
![]()
On-Screen Takeoff does not actually store image files (plans) within a project, only a reference (link) to the image files. If the plan images are deleted, renamed or moved, On-Screen Takeoff can no longer display the image. This article details how to reestablish a link to the images, assuming the image files were not deleted.
In the first example, when the images were initially added to the project they were stored on the user's hard drive. After the job was started those image files were moved from a user’s local hard drive (C:) to a server drive.
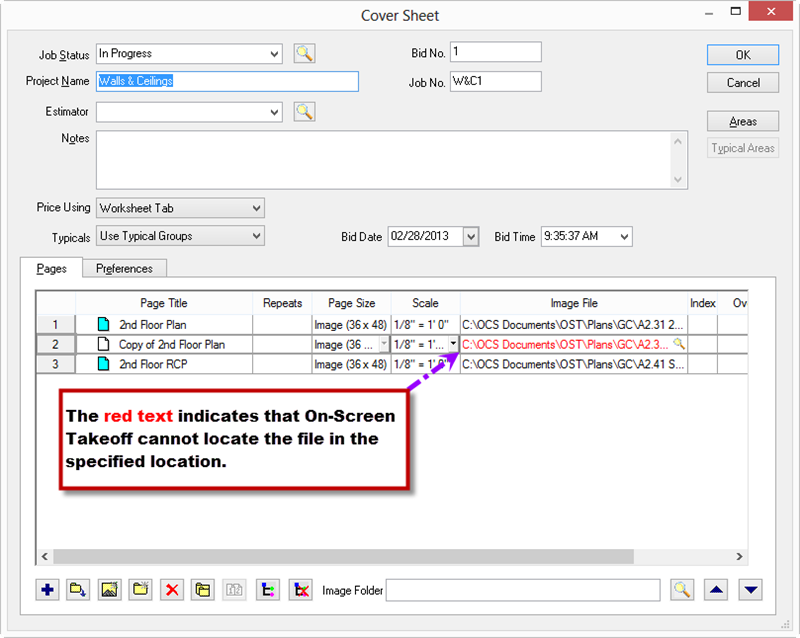
On the Cover Sheet, that the Image File (the actually names of the image files) is displayed in Red, that means that On-Screen Takeoff cannot locate the files.

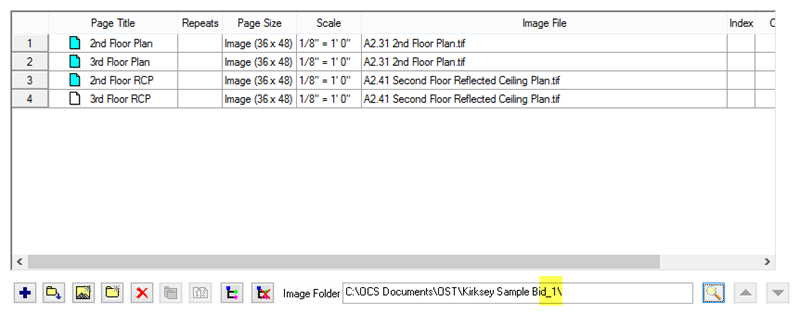
Currently, based on the Image Folder, On-Screen Takeoff is expecting to find these image files at C:\OCS Documents\OST\Kirksey Sample Bid 2\ if those plans are moved to any other location the project must be updated to reflect this change.
If only the NAMES of the image files (like the four pages in the screen shot above) are listed in the Image File column, simply change the Image Folder location.
 to the right
of the Image Folder location
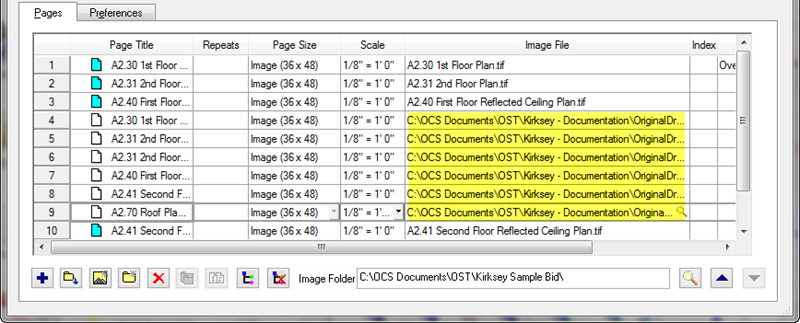
If plans are stored in multiple folders, the folder/path information in addition to the file name is displayed in the Image File column like the example below.

Use the Change Folder button to set the folder location for each page (or group of pages) - select multiple pages by holding the <Shift> or <Ctrl> keys.
For pages that only show the image name (such as "A2.31 2nd Floor Plan.tiff" in the example), follow the steps above to change the Image Folder first, then change any pages that show the entire path and file name (such as Pages 4-9 in the example).
See Changing the Image File Path for information on changing the folder path for a specific row (or rows).
The image path is updated on the Cover Sheet and the image names should turn black to indicate the On-Screen Takeoff can find the files again. Repeat this for other files that are stored in different folders.