Performing Count and Auto-Count Takeoff
Count conditions allow you to takeoff things like footings, columns, fixtures, lights and other items that are normally considered stand alone or measured using Each.
You can take off count objects in two modes: Manual and Auto Count.
Manual Count
- Select a Count condition from the Condition List
- Click on the image at each location where you want to place your count object - The quantity will update in the Conditions window
- If you know the quantity of Count items, you can manually enter this value on the Worksheet tab

Additional Information: See Manually Entering Values on the Worksheet tab for more information
Using Auto Count
Auto Count is feature of On-Screen Takeoff that allows you to quickly locate and takeoff many count objects automatically. Based on a shape you select from the plan image, Auto Count will scan the current page and locate all occurrences of that same object. This saves valuable time when taking off items like switches, light fixtures, plumbing fixtures and fire prevention/detection controls.
 |
NOTE: The Auto Count Tool only becomes active when a Count condition is selected. |
- Select a Count condition from the Condition List
- From the Takeoff toolbar, click the Auto Count icon
 - the curser will change to Takeoff mode,
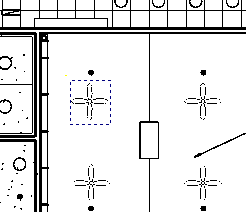
- Rope the object that you wish to count - In this example, we are roping a ceiling fan - it is surrounded by a blue, dashed line

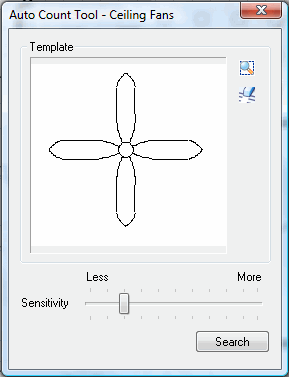
- The Auto Count Tool dialog will display showing your selection

- Erase any unwanted marks on the selected object by clicking the Eraser icon
 and tracing over the detail you want to remove
- If you wish to change your selection, click the Change Selection icon
 in the Auto Count Tool dialog, and the dialog will close and you can begin again.

NOTE: If needed, press <Ctrl> <2> to open the View Window, to review the image and make any selection adjustments. Minimize, Close or Move the View Window when you are done to return to the Auto Count Tool dialog box. - Adjust the Sensitivity level by clicking and dragging the indicator in the Auto Count Tool dialog - The further right the selector is moved, the more precise the match must be

NOTE: It is better to perform a less sensitive search and de-select mismatches rather than miss potential matches because the search was too sensitive. You may have to experiment a bit as each plan is a little different - some are easier to scan than other, some are blurry or have many overlapping objects which may cause the Auto Count scanner to overlook some objects. - Click Search
- A scanning window appears during the search process
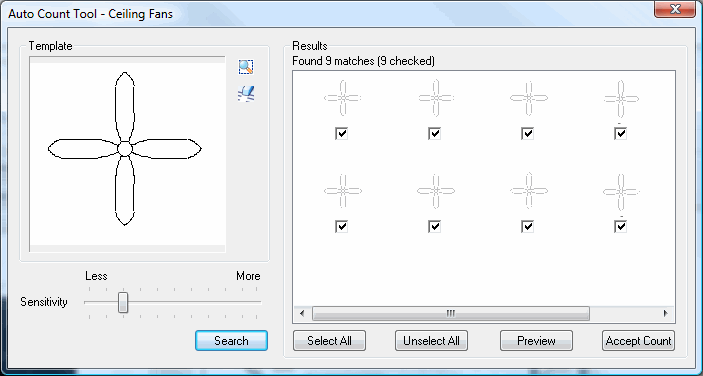
- When the search is complete the Auto Count Tool dialog will expand to show the results of the search - There will be a total number found and all are selected by default

- View the results and de-select those objects that do not actually match your selection
- Use the buttons provided to Select All, Unselect All, or Preview which displays the View Window dialog with all counted objects highlighted
- Click Accept Count
- The objects will be counted (taken off), and the Condition List updated with the quantity

NOTE: If you notice an object was counted incorrectly or wasn't counted, you can manually delete or add Count takeoff to this page.


