While holding down the mouse button, drag them on top of the Page under which you want them moved.
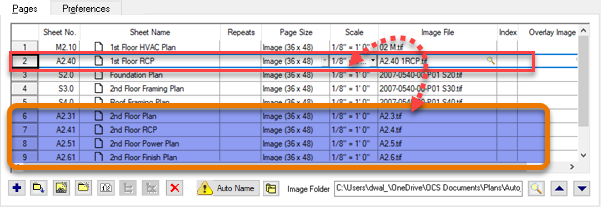
Move Up/Move Down buttons
Click on one Page or multiple sequential Pages (using <Shift>).
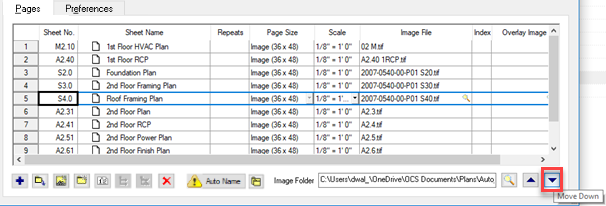
Using the Move Up and Move Down buttons in the bottom right corner of the Pages tab, move one or Pages up or down in the grid.
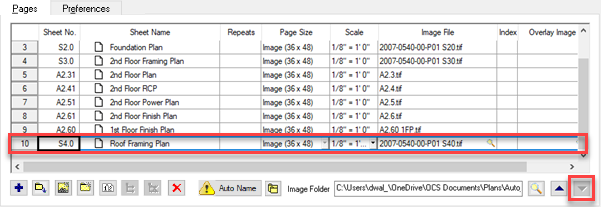
When you reach the bottom of the grid (or the top), the Move Down (or Up) button becomes disabled.
When you're all done and satisfied with the collation of your Pages, click OK to save your changes.
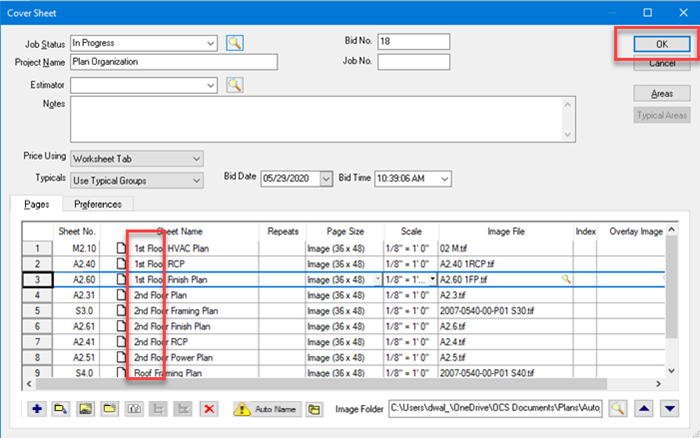
Now, back on the Image Tab, you can see how that makes it a little easier to navigation through related Pages.
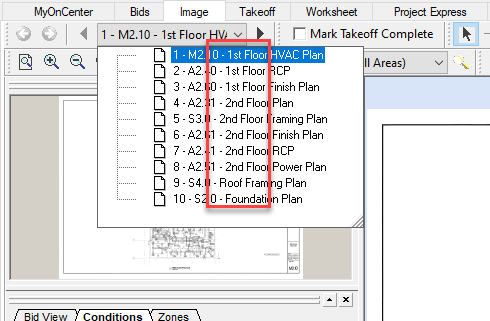
There are two additional parts of collating drawings: Updating each Page's Sheet Name and No. and removing Pages you don't need.
Update Sheet Name and No.
If you haven't already, we recommend that you update each Sheet No. and Sheet Name to something more user-friendly by clicking on the existing name and typing in a new name (do not change the Image File field, that will break the link to the plans). Each Page's Sheet Number and Sheet Name should be unique because you see these labels in the Page Navigator drop-down on the Image Tab. If you named multiple pages "1st Floor RCP", you wouldn't know which one to select. See previous article for more information on renaming pages.
Although you can see all your Pages in the Pages tab in the
Cover Sheet, if you want a preview of each Page as you're renaming it, open the
Image Tab, right-click and select "Rename Page". The Rename Page dialog box allows you to view the Page and updates its name, and then you can use the Next/Previous buttons to move forward/back in your Pages list until all your Pages are renamed.
Remove Unneeded Pages
Just because one or more plans was included in the set you used to create the project doesn't mean you have to keep them in the project if you don't need them. For example, if you only work on interior finishes, you could probably remove the site plans, framing, electrical and mechanical plans, and other plans you never review.
Open the Cover Sheet, and within the Pages tab grid,
Select one page or multiple pages (using CTRL or SHIFT),
Click the Delete button  . OST prompts you to confirm every page that has takeoff or annotation (or both) on it.
When you delete a Page, any
takeoff or
annotation that was on a page is deleted, permanently. Before you click "Yes" to confirm deleting a Page, review the
Image Tab to see what's on it. Once you confirm deleting a Page, it's gone for good along with anything that was on it.
