Immediately after you deskew the image or opt not to deskew it (previous article), you are prompted to Resize Overlay (the program tries to match up the base image and the overlay, you should only need to resize manually if the results are unsatisfactory).
Adjusting base images stores settings in your
database that tells the program to make the adjustment to the display of the base
image, when it is loaded on the
Image Tab. The base
image is not altered. However, adjusting an
Overlay image creates a TIF copy of that
overlay image and all changes are made to that TIF and stored in an "Overlays" subfolder where the original
Overlay image file is stored.
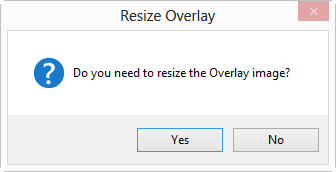
Select Yes, the Resize Overlay window opens (you can select No if the base and Overlay images match up pretty well or if you want to run through the Resize Overlay later).
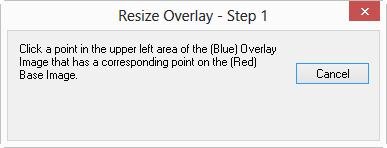
With the Select tool  active, click a spot on in the upper left corner of the overlay image (Blue) that corresponds to a spot on the base image (Red) - a crosshairs icon is placed on the overlay image
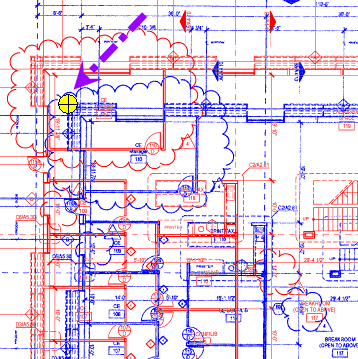
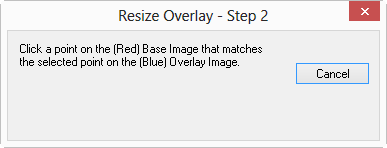
Next, click the point on the base image (RED) that corresponds to the same point on the Overlay
A second, smaller crosshairs icon is placed on the base image
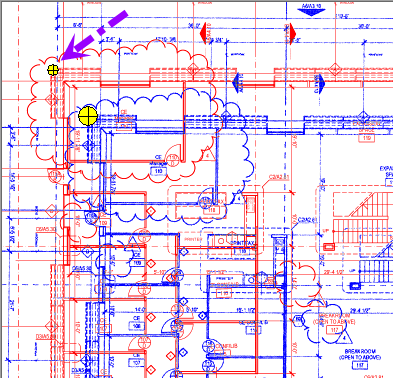
and the program matches those two points...
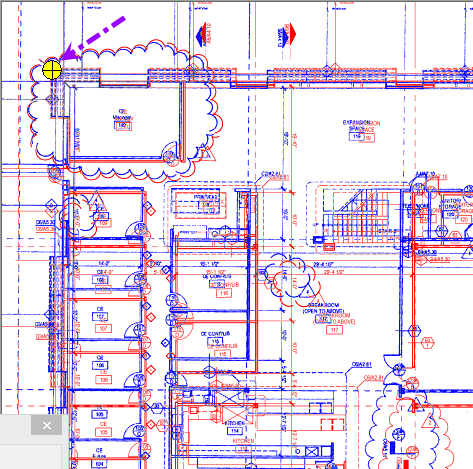
Click a spot in the lower right area of the overlay image (BLUE) that corresponds to a spot on the base image (Red)
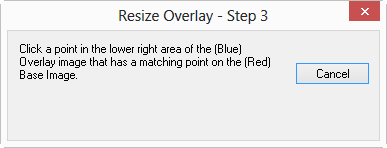
The large crosshairs icon is placed on the overlay image
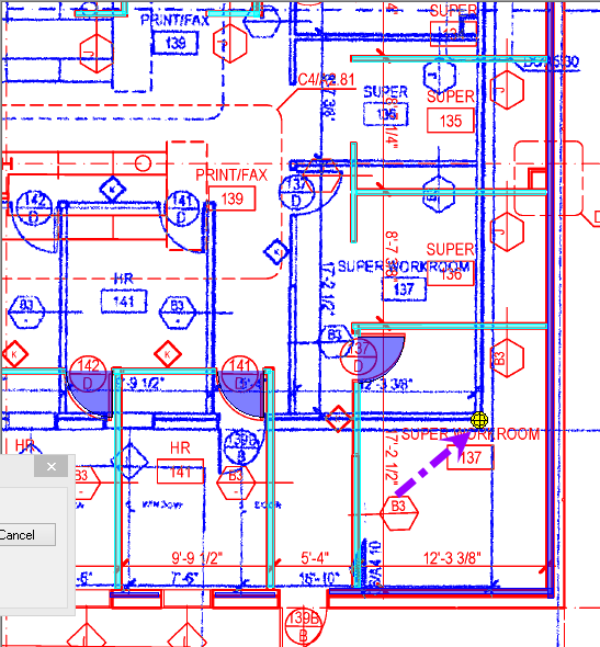
Lastly, click the point on the base image (RED) that corresponds to same point on the Overlay
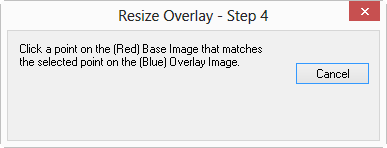
The second, smaller crosshairs icon is placed on the base image and the overlay image is resized so that the two sets of coordinates match up
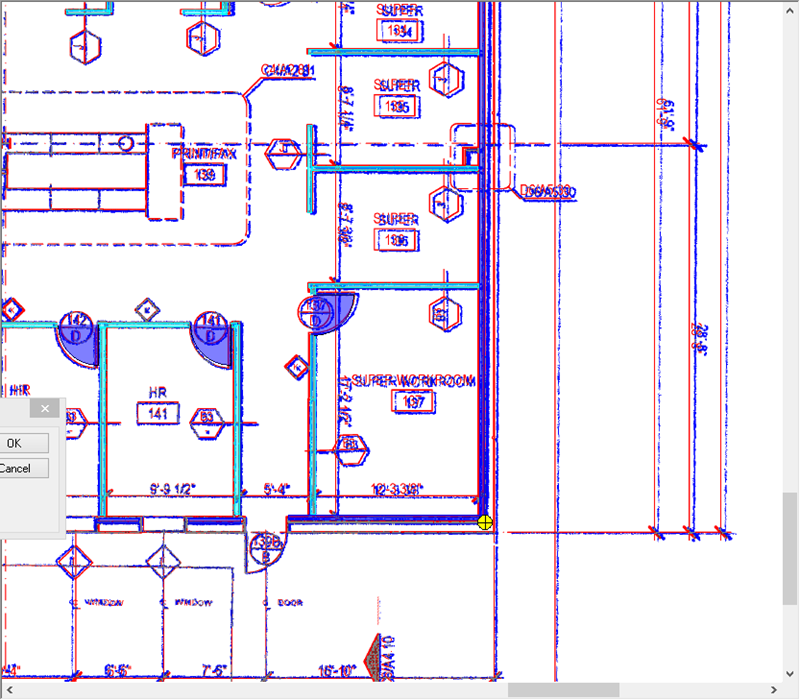
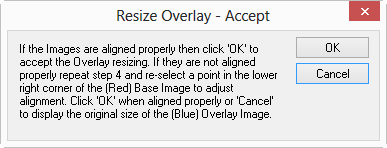
You can make additional adjustments to the final lower point by clicking the final point on the base image (RED) again,
Click OK in the "Accept" dialog box when the overlay appears to be lined up correctly
When you are done deskewing and resizing, the addendum drawing (Overlay) is overlaid on top of the base image and you can see any differences.
Starting the Resize Overlay Process Manually
If you skip the Add Overlay Wizard, or when adding Overlays from the Cover Sheet, the Overlay plan may be a different size or DPI than the base, causing the overlay to appear much smaller or larger than the base image. You can resize Overlays any time on the Image Tab using the toolbar or the context menu.
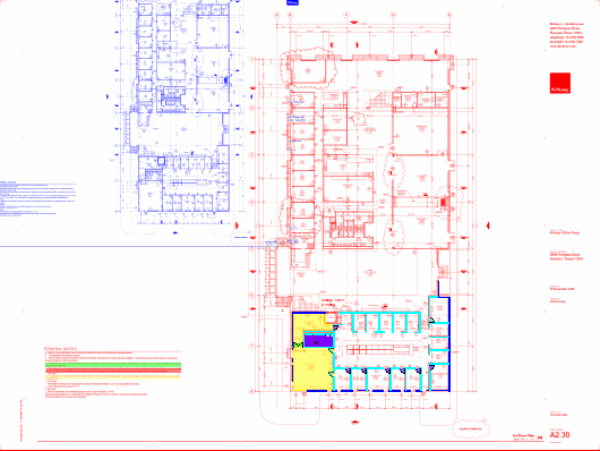
In the example above, notice that the overlay (blue) is much smaller than the base image (red) - use the Resize Overlay Tool to resize the overlay manually.
Activate the tool by right-clicking anywhere on the page and clicking Overlay > Resize Overlay Image or click the Resize Overlay button  on the Overlay Toolbar
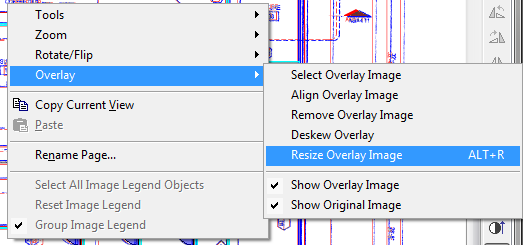
Follow the steps in the Related article to use the Resize Overlay Wizard.
Changes made to the
overlay during the resizing process are saved to a tiff stored in the
Overlay folder (a sub-folder created where the original
overlay file is located). If you have used this file as the Base
image on another page, you could cause problems with the
takeoff on that page. It's always best to use the "Add
Overlay" wizard to isolate changes to
Overlay files.
The base and
overlay images may not align perfectly, this could be due to variations in how the
overlay image was created. You may need to use trial and error to get the two images to match up as closely as possible. Also, if you zoom in closely, pixel differences in the two images may become more apparent - this is expected. Overlays are intended to show overall changes between the base and addenda
drawing.
Once your image is deskewed and resized, you may have to move it laterally to align it to the base Image.
