When you are working on large projects, the Cover Sheet Pages grid can become a bit intimidating (when you have 500, 1000, or 5000 images, for example). You can use Page Folders to organize your plans by Discipline, area, section, revision/set, or any other logical division - however you choose to group your pages.
Creating Page Folders
For a very simple example, we're going to organize some of our Pages into folders based on the Floor to which they are related (Floor 1 and Floor 2)
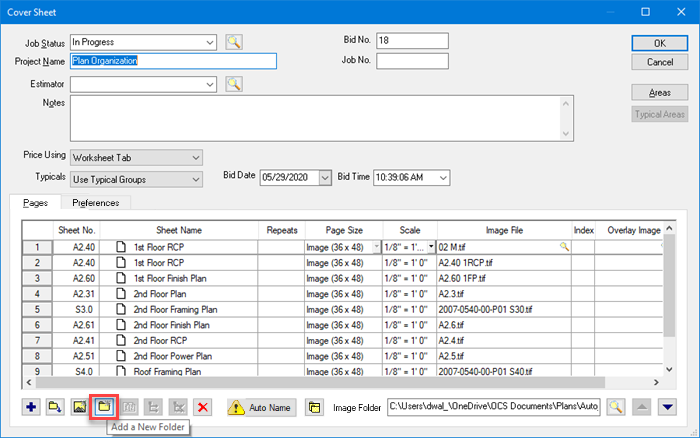
Open a Bid's Cover Sheet.
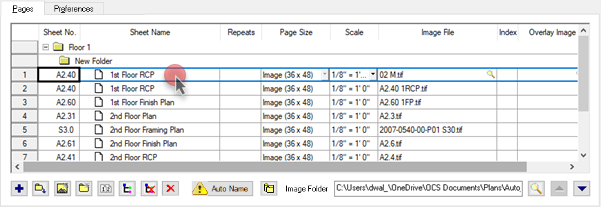
In the Pages grid, click the New Folder button as shown below.
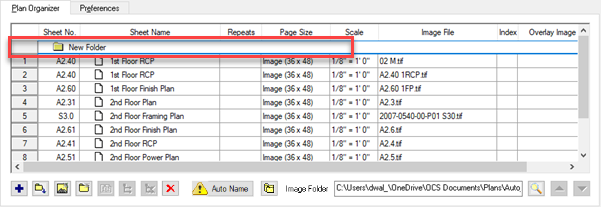
Your first folder is always put at the very top of the grid and named "New Folder".
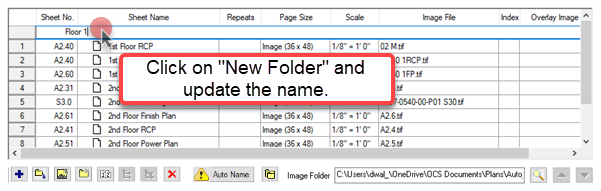
To rename your folder, just start typing, if you've clicked off the folder, just click it once and start typing.
Folder names are limited to 50 characters.
Click the Add New Folder button again.
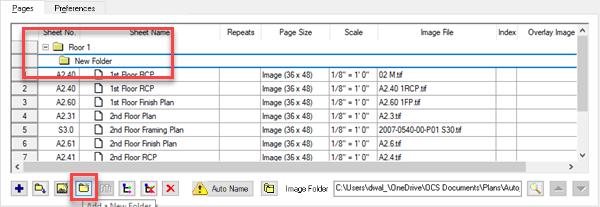
You may be asking "Why did On-Screen Takeoff create my folder in the wrong place? The answer is that when a Page Folder is selected (like our "Floor 1" folder), the program assumes the user intends on creating a sub-folder.
To create a new Page Folder at the same level as "Floor 1", we need folder, click on a Page that is at the same level. Because we haven't moved any Pages into Page Folders yet, we can just select any Page in the grid.
Now click the Add New Folder button.
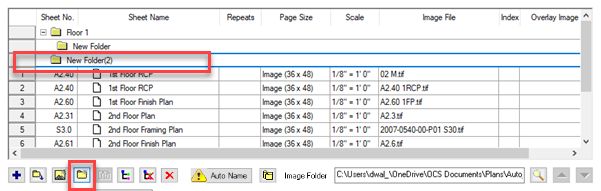
Note, the New Folder (2) is placed at the same level as "Floor 1". We can now rename it to "Floor 2".
If you accidentally create a sub-folder, just drag it to the top of the Grid, it will nestle below the current folder(s) in the list. You can also simply delete the incorrectly created Page Folder by clicking on it and clicking the delete button at the bottom of the Pages tab.
Moving Pages into Folders
Once the folder into which you want to move some pages is created, simply select the page (or pages) and drag-n-drop them into the folder.
This does not affect the physical location of the image files, it only changes how the list of images is presented in On-Screen Takeoff.
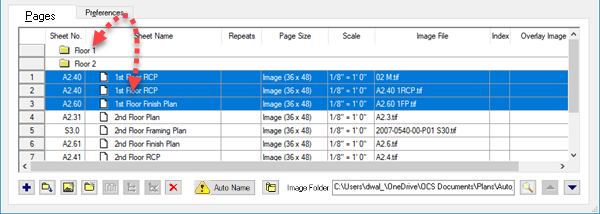
When you are done, your image grid should be logically organized, in our example, by "Bid Areas".
You can see the expand/collapse control next to a folder that has Pages in it. The Pages below Floor 2 have not been moved into that folder yet - you can tell because there is no expand/collapse control next to "Floor 2" and the Sheet Names themselves are aligned a little further left.
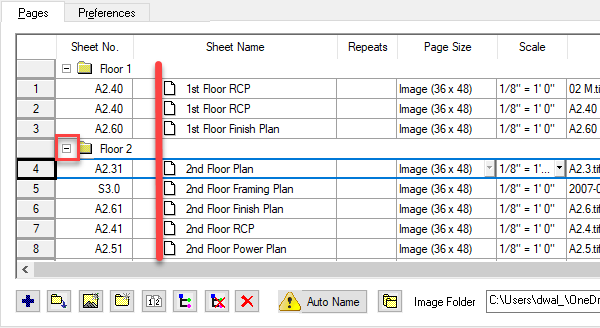
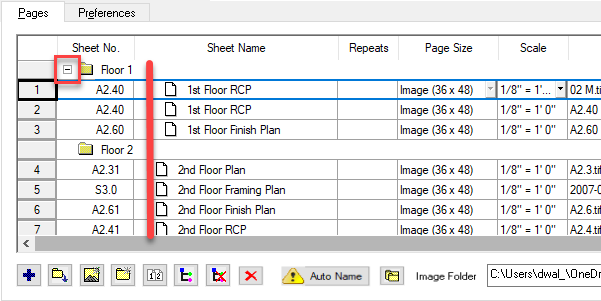
Now that we've moved those Pages into the "Floor 2" folder, there is an expand/collapse control next to the folder name and the Sheet Names are aligned the same as the Pages in another same-level folder.
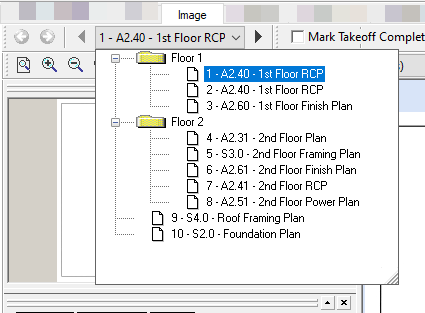
This folder structure carries over to the Image Tab's Page Navigator drop-down:
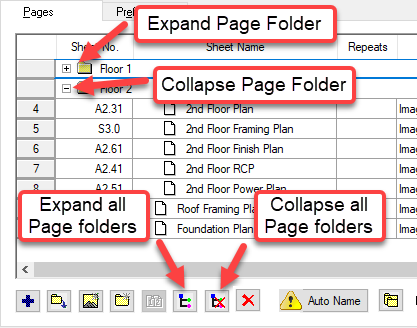
Expanding and Collapsing Page Folders
There are expand/collapse controls on each folder in the Pages grid.
There are also Expand/Collapse All buttons below the Pages grid.
Expanding/Collapsing on the
Cover Sheet does not affect the Page Navigator on the
Image Tab.


 Collating Pages