| |
| |
On-Screen Takeoff - 03.06 Adding Multiple Pages to Your Project - OST
| Views: 1606 Last Updated: 12/16/2024 08:52 am |
0 Rating/ Voters
|
     |
| Be sure to rate this article 5 Stars if you find it helpful! |
If you are provided with a folder that includes all the plans for a particular project, you can add all the files of a single type (TIF, PDF, etc.) that are stored in that folder all at once.

Version 3.96 and earlier labeled this tab "Pages".
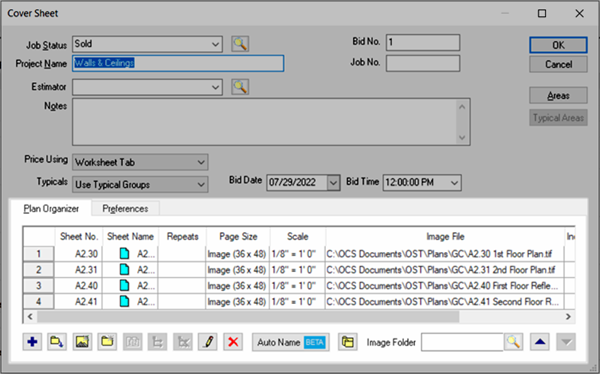
- Open the Cover Sheet (by default, the Plan Organizer tab is visible)
- Click the Auto Add Images button
 (the second one from the left in the Pages tab toolbar) - this opens a browser dialog box named "Add Images" (the second one from the left in the Pages tab toolbar) - this opens a browser dialog box named "Add Images" - When the Add Images dialog comes up, locate the folder containing the images files to which you want to establish a link
- Select one of the image files and click Open - On-Screen Takeoff adds all of the image files of the same file type (the same extension) located in that folder
- The dialog box closes and you are returned to the Cover Sheet where you see Pages created for each located image file and the file path to those image files
- If necessary, repeat this process to add addition files in sub-folders (for example, if your image files were sorted into sub-folders based on Division or Trade, you need to repeat this process for each sub-folder - OST only adds files in the selected folder, not any sub-folders)
- When you add a multi-page document (such as a single PDF file that contains more than one page or plan), the program extracts each page and updates the "index number" for that Page. Each Page operates independent of any other pages related to the PDF.
- When automatically adding pages in this manner, all image files of the same type are added.
- If you need to add different file types, all stored in the same folder (for example, if there are .tiff, .pdf and .dwf image files in the folder), just perform the Auto Add Images steps three separate times to grab all three types of files.
|
| |
