If you are using Quick Bid and On-Screen
Takeoff interactively, you must create, edit, delete Bid Areas and
Typical Areas in On-Screen
Takeoff. Please see the On-Screen
Takeoff User Guide for details on creating Bid Areas and
Typical Areas.
A Typical Area is something that repeats within a project multiple such as apartment units, hotel suites, townhouses, lobby areas, common rest room areas, etc. The Typical Area function allows an estimator to assign a count for each "typical unit" and Quick Bid automatically calculates total values. When properly configured, Quick Bid can then break out reports for each typical unit, floor, building, etc. or report a grand total for the project.
Because a Condition Detail is restricted to just one height, it is best if each Typical Areas Condition Names includes reference to that Typical Area's height. Examples: "Apt. 2B – 8' 6” ", "Apt. 2B – 10' 0” ". Be mindful of these different heights when assigning Condition Quantities to Typical Areas. If you are building a height-specific Condition (like a wall), you will not use Typical Areas to allocate that Condition between 8' and 10' areas, for example. You'd need separate Conditions to accommodate the different Heights. Horizontally-installed objects, such as an Acoustical Ceiling, and areas that are all the same Height can use Typical Areas.
To set up an estimate using Typical Areas, set up Bid Areas (above) first. Multiple Typical Areas can be assigned to any given Bid Area and Typical Areas values can be allocated to different Bid Areas.
To create Typical Areas,
- Click Bid > Show Typical Areas or
- Click the Typical Areas button on the Cover Sheet or,
- Click the "Multi" button next to the Area field in a Condition Detail, then click "Typical Areas"
The Typical Areas dialog displays...
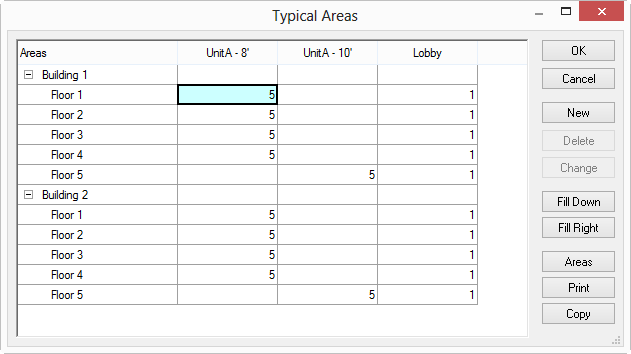
Click New and assign a name to the typical area in the Typical Area dialog - the Typical Area displays in a column next to the Bid Area column.
Enter the number of times each Typical Area occurs in each Bid Area, in the example above, there are five Unit A - 8' 'units' in Floors 1 through 4, and one "Lobby" assigned to each floor (for each Building). There are also five Unit A - 10' on the 5th floor of each building.
Once the Typical Areas matrix is filled out, the Multi-Area dialog displays the total number of repeats in parentheses next to the name of each Typical Area (Typical Areas are grouped at the top of the grid).
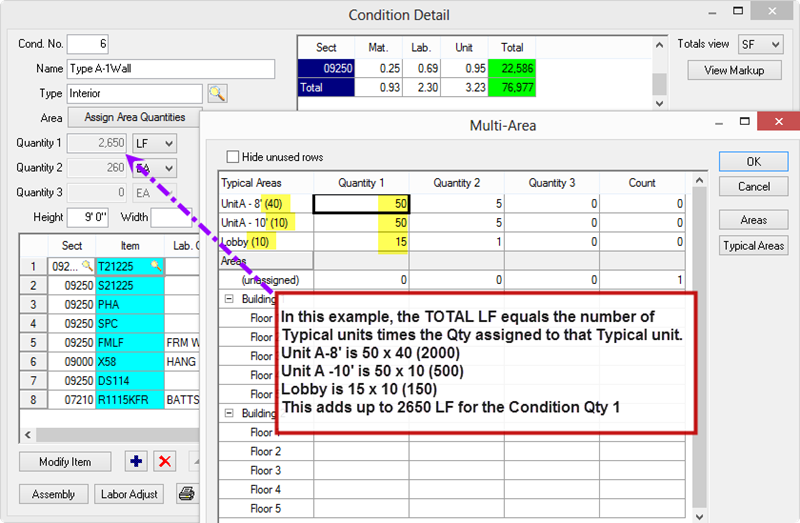
Now, enter in quantities for a single occurrence of the Typical Area in Quantity 1, 2, and 3 in line with the Typical Area name.
In the example above,
- For Unit A-8' and Unit A-10' there are 50 of Qty 1 and 5 of Qty 2 (for each instance of the typical unit).
- Each Lobby requires 10 of Qty 1, and 1 of Qty 2
It is also possible to assign Condition Quantity to an Area in this screen, not just Typical Areas. These Quantities display in the "Unassigned" row and below. This is where you can account for common values such as common walls between two Typical Areas.
The Condition Quantities are then calculated based on these values (as you can see Qty 1=2600 SF, Qty 2=26000LF). Notice that the Condition Quantity fields cannot be edited - you must use the Multi/Typical Area dialog box to adjust Quantity values.
When setting up and using
Typical Areas, do not assign common quantities (demising or common walls for example) to a Typical Area. These quantities should be accounted for individually to avoid duplication.
Other Options in the Typical Areas Dialog
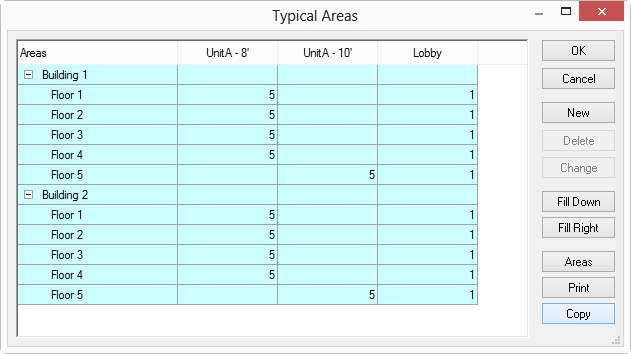
The Fill Down and Fill Right buttons are used to repeat counts down columns and across rows.
The Areas button opens the Bid Areas dialog.
The Copy button copies the information from the Typical Area grid so it can be pasted it into a spreadsheet or other document.
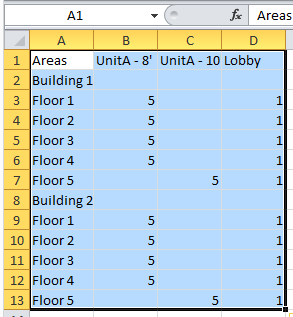
Click the Copy button and all columns are copied (highlighted in blue).
Open the destination program (Excel in the example below).
Select Edit > Paste...
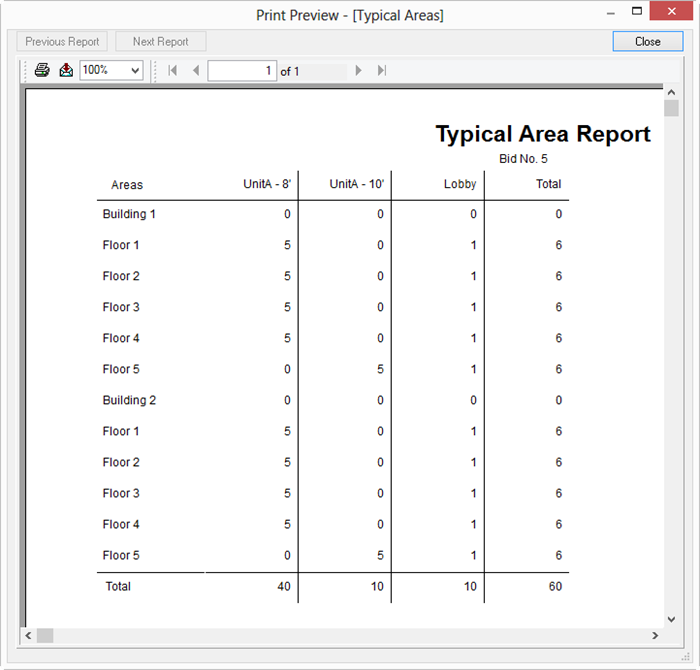
The Print button open the Print Preview dialog where the Typical Area Report may be printed or exported .


 Assigning Condition Quantities to Multiple Areas