Sorting
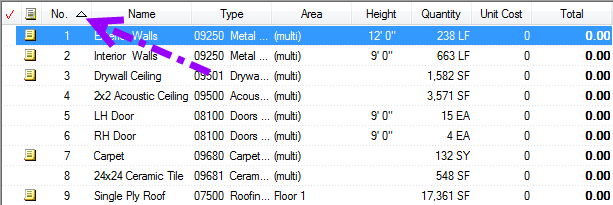
Most columns and lists can be sorted in ascending (1,2,3,a,b,c) or descending (c,b,a,3,2,1) order by clicking once or twice on the column header. An upward pointing triangle indicates ascending order while a downward pointing triangle means descending order. The arrow indicates which column is being used as the sort key.

In most lists, typing in the first few characters of an entry in the sort key column puts the focus on that entry. For example, if the above list was sorted by Name, typing in "I" would put focus on Condition No. 2 - "Interior Walls", typing "2" would put focus on "2x2 Acoustic Ceiling", typing "2" again or typing "4" immediately after the first "2" would move focus to "24x24 Ceramic Tile".
Searching
There are several ways to search the Master tables when you want to select or find an existing record. For example, when assigning an owner to an Equipment or Other Assembly, typing in the first one or two letters of the name auto-fills the box with a matching name. If there are multiple matches (for example, if you type in "BR" - the program might find "Brown" and "Bradford") the drop down list is filtered to what you've typed. The more letters you type, the more refined the filtering is until only one match is left - once there is only one match, it is automatically 'inserted'.

You can also use the lookup button  (next to a field) to open the Master list in Select mode where you would highlight the desired entry and click "Select". In the example above, the lookup button opens the Estimators List.
Filtering
Many Tabs and lists in Quick Bid can be filtered by using Filter boxes. The Filter boxes for a list will always appear at the top of the list. Some Filter boxes allow an estimator to make a selection from a list in the Filter box, and others require the estimator type in information. For example, on the Bids Tab, there are four filter boxes: Project Name, Primary Contact, Job Type, and Estimator. Filter boxes for all other lists and tabs are similar in function to these.

Bids Tab Filters

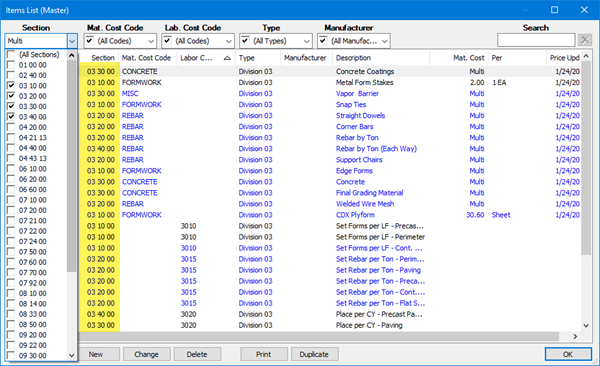
Items List Filters
Some Filter boxes are drop downs (such as the Job Type and Estimator filters on the Bids Tab or the filters on the Items list).
Some are open entry text boxes (such as the Project Name and Primary Contact filters on the Bids Tab), to locate a specific Bid in the Bids list, type in the first one or two letters of the name. The Bid list is filtered to Bids whose Bid Name (or Primary Contact) contain the same character sequence (not necessarily starting with those letters but contained in the name) - the more letters you typed into the filter, the more refined the search.
Many filters (such as those on the Bids Tab) are 'persistent' meaning they remain intact when the program is closed and reopened. Be sure to clear any List filters when you locate the entry you need. Setting filters affects if and how new entries are created and may prevent you from creating an Interactive Bid.
Grouping Lists
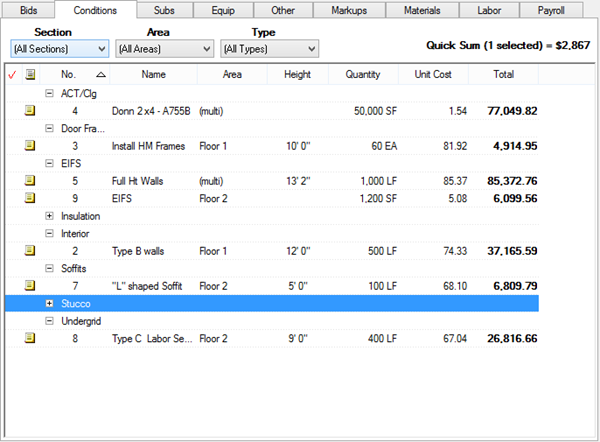
In addition to being sorted or filtered, many lists can be grouped. For example, the Bids Tab can be grouped by Job Status, the Conditions Tab can be grouped by Type and the Subs, Equip, and Other Tabs can show/hide Section/Division breaks.

Example of the Bids Tab "Grouped by Type"
See the articles later in this section for details on each Tab in the program.
