![]()
19.01.00 printing plans and takeoff
![]()
![]() Printing Overview video
Printing Overview video
Printing is a key feature of On-Screen Takeoff and you can print any Tab in On-Screen Takeoff. The Bids, Takeoff, and Worksheet Tabs are discussed in Exporting the Bids, Takeoff and Worksheet Tabs. This chapter focuses on printing Plans and Takeoff from the Image Tab.
On-Screen Takeoff uses the Windows Print Subsystem to manage printing - so to change Printer defaults use the Printers or Devices & Printers applet in the Windows Control Panel. On-Screen Takeoff does not save Printer settings when the program is closed because this would affect other programs accessing this printer.
From the Image Tab, click the Print icon ![]() (or, click
File > Print (or Preview) or
press <Ctrl> + <P>)
- the Print Preview dialog appears. The program
ALWAYS brings up the Preview screen from the Image Tab so you can double-check
the printout before sending it to your printer.
(or, click
File > Print (or Preview) or
press <Ctrl> + <P>)
- the Print Preview dialog appears. The program
ALWAYS brings up the Preview screen from the Image Tab so you can double-check
the printout before sending it to your printer.
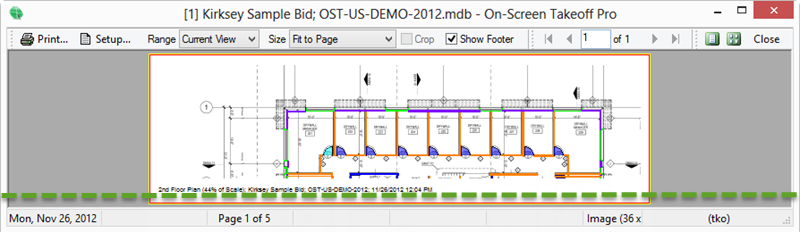
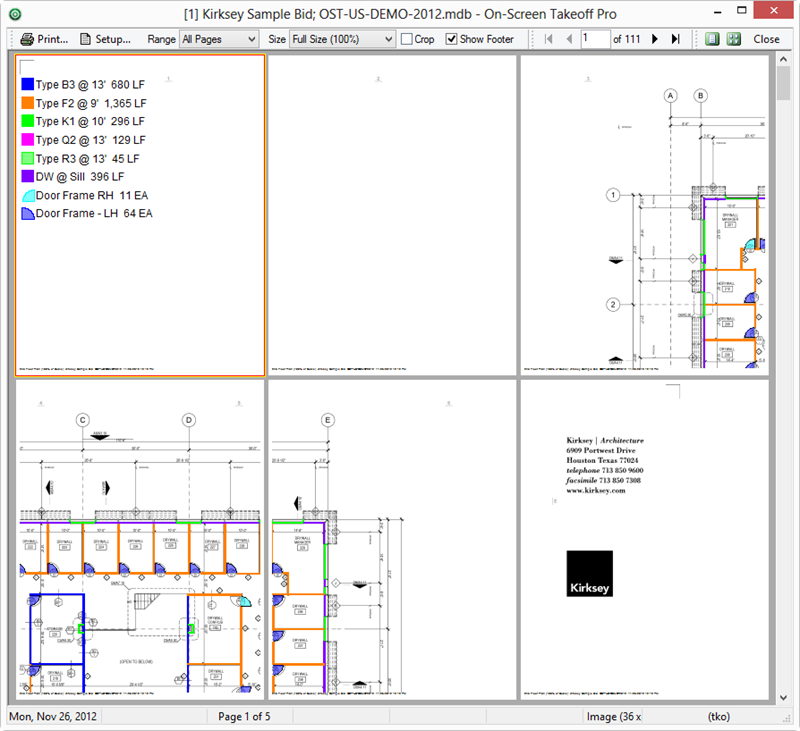
In the Print Preview window, you'll see the Print Setup toolbar. This toolbar provides access to all of the print options available in the On-Screen Takeoff.
Button or Control |
Name/Purpose |
How to use/What it does |
|
Print button |
Opens the Windows Print dialog box where a user chooses the printer and print options and selects the pages/number of copies to print. |
|
Print Setup button |
Allows user to set a page size and choose Portrait/Landscape mode. |
|
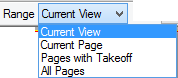
Range drop down |
A Range tells On-Screen Takeoff what to print. Print ranges include Current View (default), Current Page, Pages with Takeoff and All Pages - each option is detailed in the following articles.
|
|
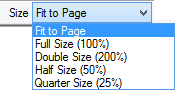
Size drop down |
Select the Size to which you want to print your images (this is where you tell On-Screen Takeoff how to print the page range). To print images to scale (full size), select 100%.
|
|
Crop checkbox |
When using Multiple Page View mode (below), this option allows you to select a SINGLE page to print - this does not edit (crop) images, it 'crops' your selection. |
|
Show Footer checkbox |
Check this option to print the footer on every page. The footer includes the Page Name, the % of scale at which the page is printed, the Project Name, database, and the current date and time. |
|
Preview page navigator |
Allows user to navigate pages when previewing multiple print pages. Shows how many pages are being previewed. |
|
Preview single print page |
Displays a single print page on the screen at one time. |
|
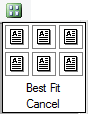
Preview multiple print pages |
Click and select how many print pages to display on the print preview.
|
|
Close |
Closes the Print Preview dialog box. |
To see more than a single page in the Preview Window:
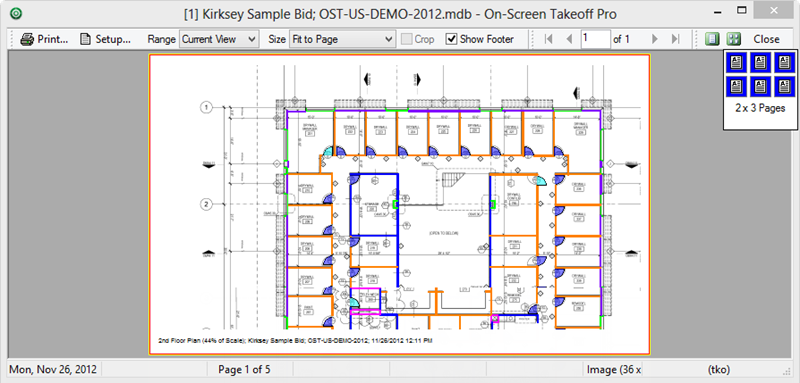
The Print Preview displays multiple plan pages lined up in grid format. This is where you can use the "Crop" function to select the specific page or pages to print.
Caching means that the program is creating a temporary, printable image of the selected page or pages. When Previewing multiple pages, a dialog box indicates the progress while the program caches the images for printing,
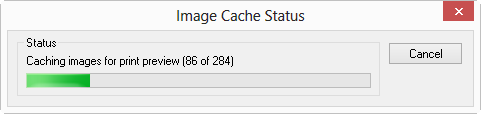
On projects with a large number of pages or complex images, this caching process may take several minutes (this is why the default for this screen is not "All Pages"). To reduce your wait time, adjust your settings to preview only the "Selected Page" or "Pages with Takeoff". If your computer runs low on resources, you may need to print the Current Page then return the Image window, navigate to a different page, preview it, and so on.
If you are experiencing problems with printing your plans/takeoff to a plotter, see Troubleshooting Printing to Plotter.
On-Screen Takeoff provides options for Importing and Exporting information, sending via Project Express in addition to good, old-fashioned Printing.
Printing Select Takeoff (How Layers and Areas Affect Printing)