![]()
3.03.00 bid wizard
![]()
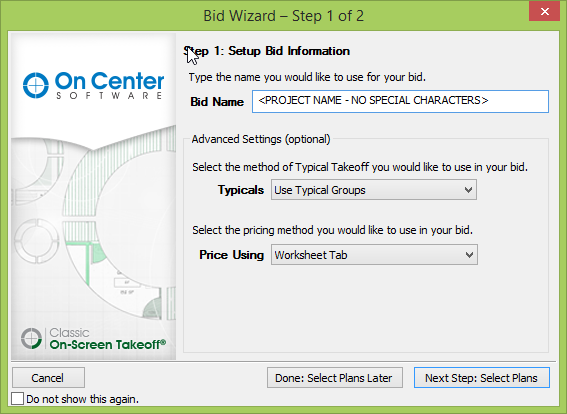
After On-Screen Takeoff creates a new database, it immediately displays the Bid Wizard which walks a new user through creating a project. See Section 9 - Projects, Alternates and Changes Orders for detailed information about projects.
Planroom Users - now is the time to click disable the Bid Wizard, sign into the Planroom's Web site and download a project file (OSX). This automatically sets up a project in On-Screen Takeoff and allows you to download images from the Image Tab > Planroom tab. See Working with Plans from DocCenter or a Planroom for more information about using OSX projects in On-Screen Takeoff.
The first field allows a user to browse to the folder where the images are currently stored. The wizard searches all subfolders in this location and copies all image files (of all types) to a project folder located under C:\OCS Documents\OST\Planroom (this location can be changed by clicking Tools > Options > Folders and setting a new Planroom location - see Setting Options - Folders for more information - this affects all projects created using the Bid Wizard).
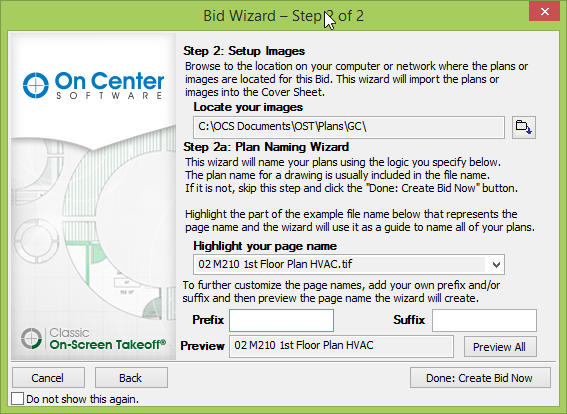
The pages are copied to your local "C" drive from the destination. While this is happening, you'll see a progress bar:

Once Finalized, you'll be able to access your Bid where you can create Conditions.