Before you can start performing takeoff using a digitizer, you need to tell On-Screen Takeoff what area of the Active Region of the digitizer you will be using. Input made outside this region will be ignored by On-Screen Takeoff.
Place your drawing on the active region of the digitizer making sure to line up the drawing edges as squarely as possible with the grid lines of the digitizer.
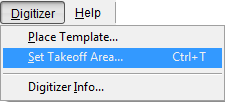
From the Digitizer menu, click Set Takeoff Area.

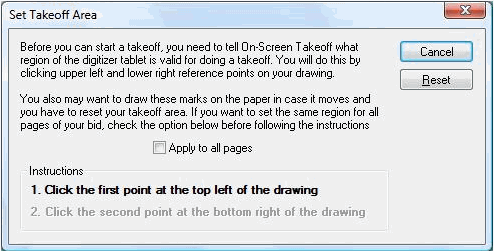
The Set Takeoff Area dialog appears.

Put a check next to Apply to all Pages if you want to set the takeoff area for all pages in your project. If you want to set the takeoff area for the current page only, leave the box empty.
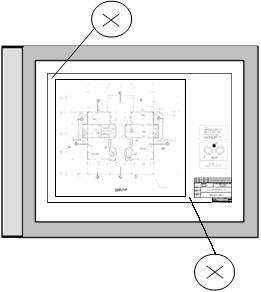
Using
a pencil, place an X in the upper-left and lower-right
locations of your drawing as shown below. These are reference marks to help you determine
where your takeoff area is if you have to come back to this drawing to
do further takeoffs.

Click the X in the upper-left corner and then the X in the lower-right corner to set your takeoff area. Your drawing is now ready for takeoff.
Anything outside this region will not be available for takeoff.
Repeat the steps above for each page in your project.