Using Overlays
The Overlay feature allows addendum drawings to overlay existing images, making it easy to identify changes.
Additions appear in BLUE (overlay image) and deletions appear in RED (original image).
 |
NOTES:
|
To select an Overlay Image
- Right-click anywhere on the image and click Overlay > Select Overlay Image

- The Add Image dialog displays
- Browse to the addendum drawing, select the file, and then click Open - The Overlay Orientation window appears
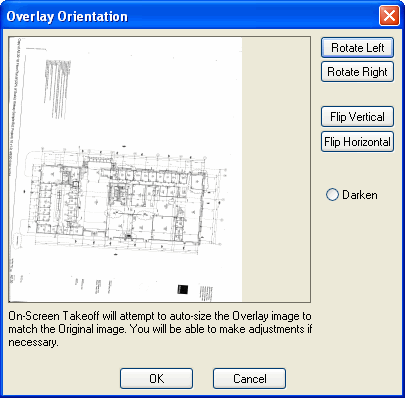
- Select the orientation for the overlay image, based on the orientation of the original, and then click OK
- You are asked if the image needs to be deskewed (this should be done if the image was scanned at an angle)
- Selecting Yes will open the Deskew Image window
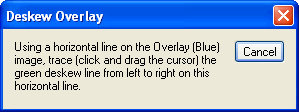
- To deskew the image, make sure the Select tool
 is active, find a horizontal line on the overlay image (BLUE), and then click and drag to trace the line from left to right
- Once the image is deskewed, you are asked if the image needs to be resized (if one image is smaller than the other, you should resize the image)
- Selecting Yes will open the Resize Overlay window
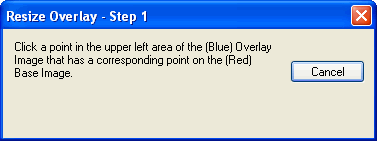
- With the Select tool
 active, click the upper left corner of the overlay image (BLUE) - Once done, you will see a crosshairs icon appear

- You are now prompted to click the point on the original image (RED) that this point should align to
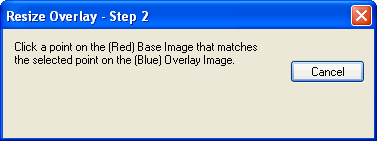
- Once done, you will see a second, smaller crosshairs icon appear

- You are now prompted to click lower right area of the overlay image (BLUE)
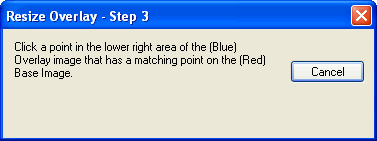
- Once done, a crosshairs icon appears in the lower right corner

- You are now prompted to click the point on the original image (RED) that this point should align to

- Once done, you will see a second, smaller crosshairs icon appear

- If you need to make additional adjustments on the lower point, click the original image (RED) again, otherwise, click OK
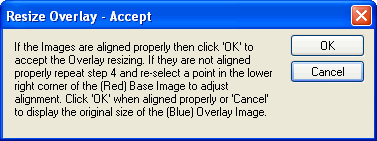
- The addendum drawing is overlaid on top of the original image, deskewed, and in the selected orientation

Align Overlay Image
If the image is slightly off, then use the Alignment Tool by right-clicking anywhere on the image and clicking Overlay > Align Overlay Image. A line with green circles at either end is displayed - this is the Alignment Tool.
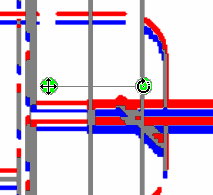
- The move handle
 moves the overlay image up-down and side-to-side - The arrow keys on your keyboard can nudge the overlay image if the alignment is only slightly off
- The rotate handle
 spins your overlay image along the center axis
Adjust the image until it is predominately grey (a purplish gray). Once the images are aligned, deletions are shown in RED and additions in BLUE. Adjust your takeoff as needed to account for the changes in the overlay.
 |
NOTE: When you zoom in very closely, you may see less grey - this is expected. Every page is slightly different if you zoom in very closely. On-Screen Takeoff compares the two images and will show you what is different, even when zoomed in to individual pixels. The Overlay feature is designed to allow you to see what has changed, overall, on a plan. |
Resize Overlay Image
At times, the overlay image will be the wrong size or the wrong DPI, causing the overlay to appear much smaller than the original.
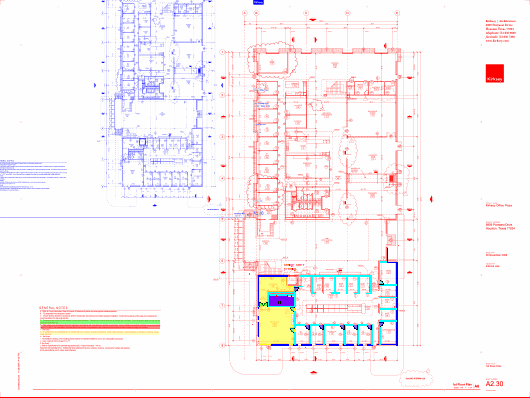
When this occurs, use the Resize Overlay Tool.
The Resize Overlay Tool allows you stretch the overlay image to fit the dimensions of the original image. This is selected by right-clicking anywhere on the page and clicking Overlay > Resize Overlay Image (alternately you can press <Alt> + <R> on your keyboard).

 |
Additional Information: Reference the steps listed above for instructions on using the Resize Overlay Tool. |
Converting Overlay PDFs to TIFF 


