


Using the right-click and Select Overlay function works great if you only have one or two Overlays to process. What if you have 20 or 50 or more Overlays? Selecting each overlay on the Image Tab would be fairly time consuming.
 |
Using the Cover Sheet to multi-add the pages, then copying and pasting the link(s) into the Overlay field is a much better way of doing this! |
First, open the Cover Sheet for your project.
Add a folder and name it Overlays.
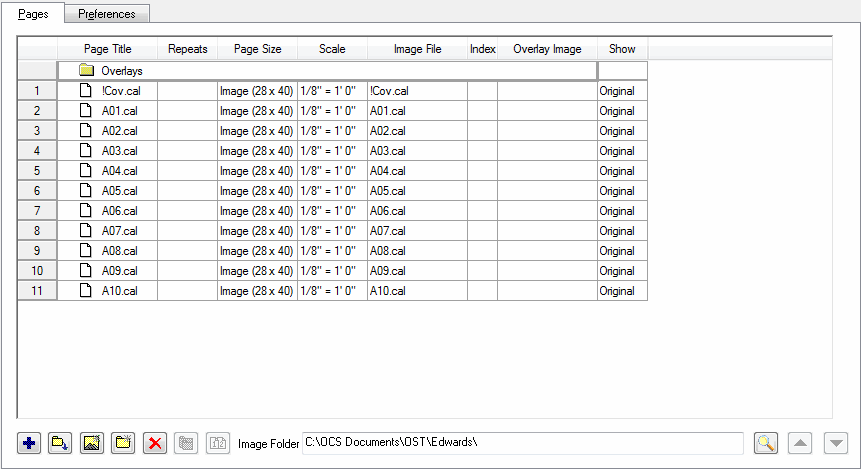
Now, using the Auto-Add function (see Adding (linking) Images to a Bid for more information) add all of your Overlays to this folder (this is just to make it easier to keep track of the base images and the Overlays).
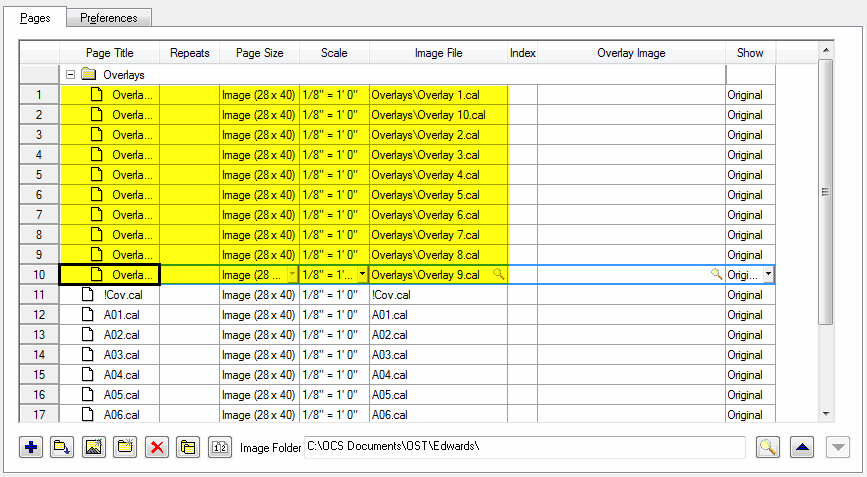
Now, you simply have to copy and paste the FILE PATH for each Overlay page and paste it into the Overlay Image field for the appropriate base image. The easiest way to do this is to click on the Image File name (in this example, Page 1 which is now "Overlays\Overlay 1.cal).
Press CTRL + C on your keyboard (the shortcut to COPY something).
Then, in the Overlay Image field for Page 12 (A01.cal) we click once and press CTRL + V (the keyboard shortcut to PASTE something)
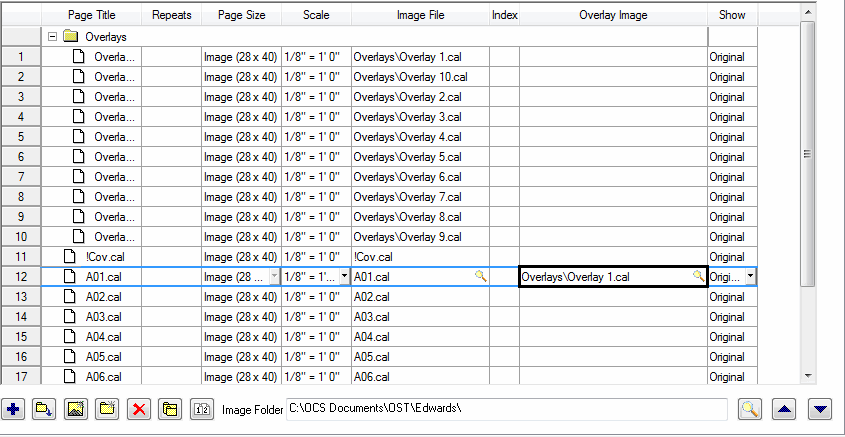
Now, set the Show field to BOTH and repeat this process for all of your Overlay images.

 |
You can choose to Show the Original, Overlay or Both for each Page. If you want to compare the original and the overlay, you would set the Show column to Both. |
Now when you return to the Image Tab, you'll be able to access the Overlay image immediately.
Working with plans from your Planroom